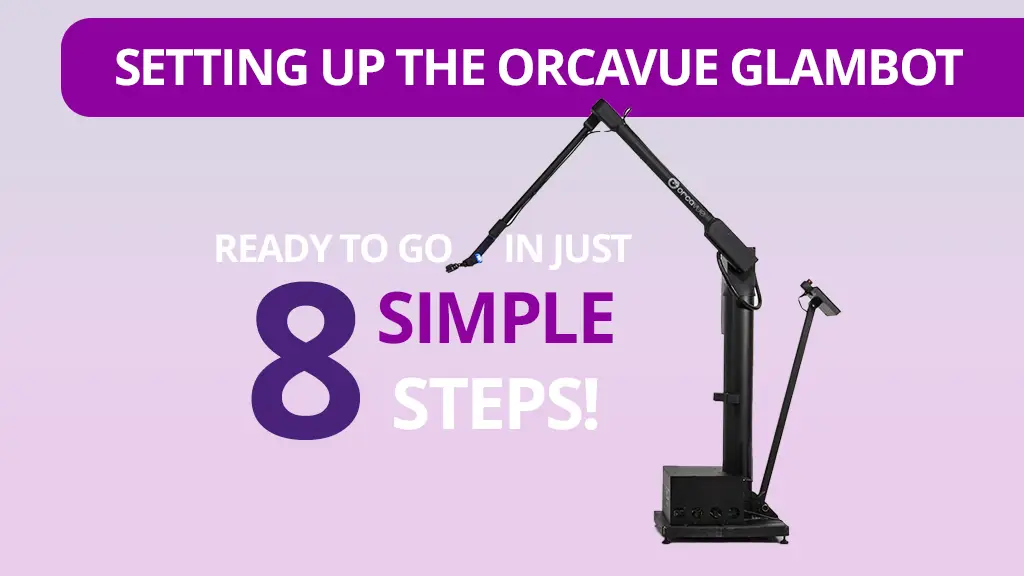
The OrcaVue Glambot setup is designed to be straightforward and efficient, allowing event organizers to quickly prepare for capturing stunning slow-motion videos. With user-friendly features and a streamlined process, the OrcaVue Glambot can be set up in just a few minutes. This post will guide you through the step-by-step process of setting up the OrcaVue Glambot, from unpacking to operation.
Table of Contents
OrcaVue Glambot Set Up
1. Position the Road Case:
- Move to Location: Begin by moving the road case containing the Glambot to the desired location at your event. The road case is designed to be portable, with wheels for easy transportation.
- Tip Up the Case: Carefully tip the road case up onto the robot’s exposed feet. This positions the case for easy unpacking.
2. Unpack the Robot:
- Remove Clamshell Sides: Detach the clamshell sides of the road case. These protective covers ensure the Glambot is safe during transport and easy to access during setup.
- Adjust Leveling Feet: Use the built-in leveling feet to ensure that the Glambot is stable and level. This is crucial for smooth operation and accurate camera movements.
3. Deploy the Built-In Display:
- Pull into Position: Pull the built-in display back into the working position. The display is an essential component for controlling the Glambot, reconfiguring it when needed, and monitoring its operation.
4. Connect Power:
- Plug In the Power Cord: Connect the Glambot to an AC power source using the supplied 15-foot cord. Ensure the power source is reliable and provides a consistent power supply to avoid interruptions during operation.
5. Attach the Camera:
- Mount the GoPro: Secure a GoPro camera (or another compatible action camera) to the top of the robotic arm. The camera should be firmly attached to prevent any movement or shaking during operation.
- Connect to USB-C Port: Use a USB-C cable to connect the camera to the USB-C port on the side of the robotic head. This connection ensures that the camera receives power and can communicate with the Glambot’s control system.
6. Connect the iPad:
- Link to the Robot: Connect an iPhone or iPad to the USB-C port on the rear of the robot. This device will run one of the capture and sharing apps such as SnapPic. Optionally, plug in a second device to act as a sharing station.
7. Mark the Subject Position:
- Place a Marker: Use the built-in laser to point to the subject’s standing position. Mark the spot with a small piece of tape. This marker helps ensure that the subjects are correctly positioned within the camera’s frame for optimal video capture.
8. Power Up and Program:
- Start the App: Open your preferred photo booth software app and connect to the robot.
- Unfold the Arm: Press the “unfold” button on the operator display to move the robotic arm into its initial position. This step prepares the Glambot for its first movement.
- Select a Camera Path: Choose a pre-programmed camera path from the operator display. The display provides an intuitive interface for selecting movements.
- Press Start: Once the path is selected and everything is set up, press the “start” button in the app to begin the Glambot’s operation. The robotic arm will follow the programmed path, capturing stunning slow-motion footage of the subjects.
Important Considerations for Glambot Setup
Safety Measures:
- Visual and Audio Cues: The OrcaVue Glambot is equipped with visual and audio cues to alert guests and operators when the robotic arm is in motion. Ensure these cues are functioning correctly to enhance safety.
- Stable Placement: Make sure the Glambot is placed on a stable, flat surface. An unstable setup can result in inaccurate movements and potential safety hazards.
- Emergency Stop: Familiarize yourself with the emergency stop function, which allows you to halt the robot’s movements immediately if necessary. This feature is crucial for preventing accidents and ensuring the safety of guests.
Optimal Lighting:
- Lighting Setup: Proper lighting is essential for capturing high-quality footage. Position diffused lighting equipment with large surface areas to ensure that subjects are well-lit and free from harsh shadows. This enhances the visual appeal of the videos.
- Adjusting for Conditions: Depending on the event’s location and time, you may need to adjust the lighting setup to accommodate changing conditions. Ensure that the lighting remains consistent throughout the event.
Testing and Calibration:
- Initial Test Runs: Perform a few test runs to ensure that the Glambot is operating correctly and that the camera paths are accurate. This helps identify any issues before guests start using the booth.
- Calibration: Calibration is especially simple with the OrcaVue Glambot if the robot gets bumped into or becomes uncalibrated for any reason. Calibrate the camera and robotic arm as needed to ensure precise movements and sharp focus.
Software Configuration:
- App Settings: Configure the app settings according to the event’s requirements. This includes selecting camera paths, selecting video effects, and setting up automatic editing options.
- Guest Interaction: Ensure that the app interface is user-friendly and accessible to guests. Provide clear instructions on how to interact with the Glambot and create their videos.
Enhancing the Guest Experience
Interactive Elements:
- Touchscreen Interface: If available, use an iPad touchscreen interface to allow guests to interact directly with the Glambot. This is a function of most photo booth softwares, and can cut down on lines of guests waiting to preview and download their videos.
- Customizable Prompts: Many photo booth softwares make it possible to customize on-screen prompts and messages to guide guests through the process of downloading their video. This ensures a smooth and enjoyable experience, encouraging more participation.
Branded Content:
- Event Branding: Photo booth softwares allow you to customize the videos with event-specific branding, logos, and messages. This not only enhances the guest experience but also reinforces the event’s theme and promotes brand visibility.
- Instant Sharing: Photo booth softwares also enable instant sharing features so guests can receive their videos quickly via email, text message, or social media. This adds value to the Glambot experience and encourages guests to share their videos with their networks.
Post-Event Follow-Up:
- Data Collection: Use your preferred photo booth software to collect guest data, such as email addresses and social media handles. This information can be valuable for post-event follow-up and marketing efforts.
- Feedback and Improvements: Encourage whoever is operating the booth to gather feedback from guests about their experience with the Glambot. Use this information to make improvements and enhance future setups.
Orcavue Glambot Set Up – Conclusion
Setting up the OrcaVue Glambot is a streamlined process designed to ensure quick and efficient operation. By following these step-by-step instructions, the OrcaVue Glambot can capture stunning slow-motion videos that will delight guests and enhance any event. With user-friendly features, safety measures, and tons of customizable options, you’ll be equipped to create memorable and engaging content. Whether for weddings, corporate events, or brand activations, the OrcaVue Glambot is an excellent addition to any event planner’s toolkit.
To learn more about purchasing an OrcaVue Glambot for your photo booth business, be sure to read our post on 12 Questions to Ask Before Purchasing an OrcaVue Glambot.


